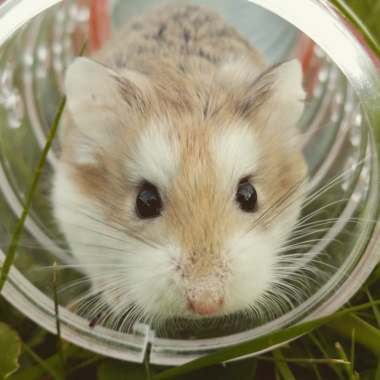
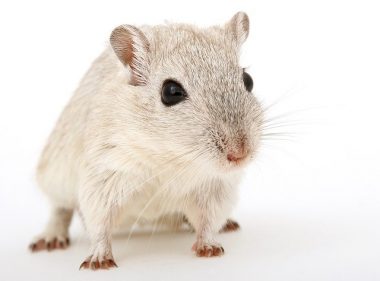
Gerbils are small pets with lovable personalities and so make for a good choice for first time pet owners. If you are welcoming a gerbil as your pet for the first time, one of your primary questions would be how to make a gerbil cage. Gerbils are very sociable creatures and are full of activity – gnawing, jumping, tunneling, foraging and so on. So, a perfect gerbil cage should not only provide a safe dwelling for the pet, but also allow for all their favorite activities.
While pet stores sell ready-to-assemble gerbil cages, they are usually small with many plastic components. These wear out easily and lack the required security features. Making a gerbil cage on your own is the best option. So, here is a quick and concise description on how to make a gerbil cage.
Some questions you need to answer before taking up the task of building a gerbil cage:
- What is the ideal size and shape of a gerbil cage?
- What should the cage be made of?
- How to accessorize the gerbil habitat?
According to pet experts, the ideal size of a gerbil cage is calculated to be 10 gallons (37.85 liters) of space per gerbil. So, assuming you are opting for a pair of gerbils at the least, a 12 by 30-inch enclosure is a good measurement to start with. A depth of 12 inches (0.3 m) is recommended as they need space to run around and hide. Rectangular shaped cages are the best match while round fishbowls are strictly not recommended.
After you have ascertained the size of the cage, the next step is to consider the materials for building the gerbil cages. To make a good gerbil cage, choose from one of the three easily available materials – glass fish tanks, wire and plastic. Let’s have a look at what each material can do and pick the one that is right for you.
Glass cages
Fish tanks and terrariums are a good choice to build your first gerbil home. They are made of glass, which is sturdy, inexpensive, durable and maintenance-friendly too. After securing a glass enclosure, your next task would be to find a well-fitting wire mesh to place on top of the cage. This keeps the pet protected and ensures that the cage is well ventilated. It also gives easy access to the interior of the cage for feeding, cleaning and handling the pet. One of the main advantages of choosing a glass tank is that it is weather resistant and works well under any temperature conditions.
Wire cages
If handling glass is not your cup of tea, then you may consider a wire cage made of sturdy, non-bendable metal. In addition to keeping them enclosed, wire cages prevent the pets from gnawing their way out of the enclosure. The trick is to choose a cage that has closely placed rigid bars – ideal ones would be those with 1/4th inch bars. Close-knit bars will prevent the cage from bending due to repeated chewing and scratching activities of the gerbils. Wire cages are a good choice for those living in warm, humid climates. These cages ensure good ventilation and unlike glass cages prevent odor build-up inside the cage.
However, there is a flip side to choosing wire cages. Gerbils can get their feet, teeth, tail and nails jammed in between the bars of the cage, causing pain and injury. Also, however small the bars are, the bedding material tends to spill out and makes the place messy.
Plastic cages
While plastic is not the ideal choice of material for building a gerbil cage, a variation of plastic namely acrylic can be a good pick. Being light weight and transparent, it offers the best of both glass and metal. You may enforce it with a metal mesh for strength and durability. However, experts do not recommend plastic cages for long term housing as they cannot withstand the damaging activities of gerbils. This can cause the pets to let themselves out, while also ingesting the harmful plastic. Plastic cages may at best serve as an alternative to facilitate cleaning and moving the gerbils from their stationary home.
Steps to make a good gerbil cage
Now that we have chosen our ideal container for a gerbil cage, it is time to equip it and make it fit for the pet to live in. Following are the steps to illustrate how to make a gerbil cage from scratch:
Step 1: Constructing the cage and its lid
Single level cage
Lay the fish tank or any other container of your choice on its back. Construct a mesh lid to cover the top of the cage. To make this lid, take a wooden frame (like a picture frame). Using a staple gun attach a welded mesh inch by inch on to the frame. Ensure that the mesh lies on the frame so that the gerbils do not gnaw on the wood. If the tank is large construct a 2-door lid so that the center is not weak.
Multi-level cage
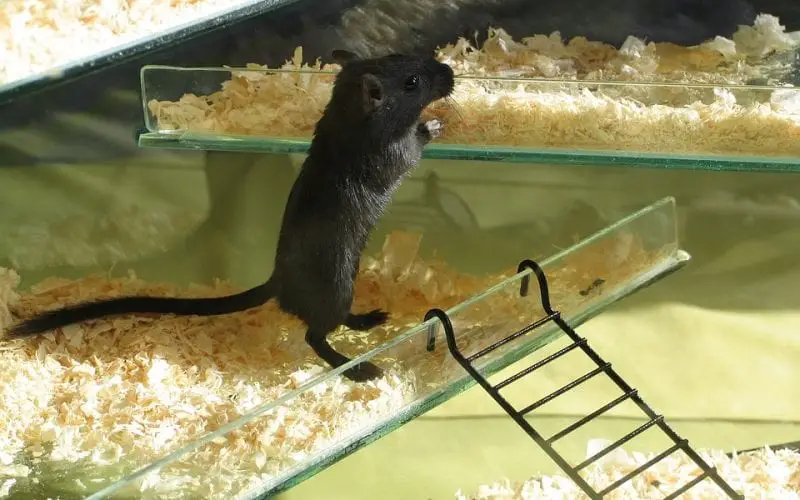
If you want to create a multilayer habitat, then the lower level will be a glass tank and the next level can be a metal cage with stairs for easy navigation. Equip the lower level with the bedding or substrate of your choice, tunnels and food supplies. The next level can be mostly for playtime and exercise. Ensure that you do not have any sharp objects and plastic equipment. Secure the top of the metal cage with a perforated aluminum lid. Keep it closed with a proper lock and key, to prevent the gerbil from getting out.
Step 2: Prepare the bedding
Once the cage and the lid are ready, it is time to prepare a deep bedding or substrate for your pet. The best and most easily available material is shredded paper. Use small squares of cardboard for the base and build it up with the softer shredded paper. Fill almost 1/2 of the tank and then place small cardboard boxes and kitchen roll over it. Place some more shredded paper over it to create the effect of tunnels and burrows. Avoid any sharp objects or plastics, as this can harm your pet both internally and externally.
Step 3: Add nesting and feeding material
Place wooden logs, twigs (watch out for sharp edges) and piles of green hay for the gerbil to chew on. From the mesh lid, hang a water bottle with a non-plastic and blunt-end spout such that the gerbils can reach out for the water easily. Green hay must be changed every few days as they get chewed and used up.
So, here we have a fully handmade gerbil cage ready and functional. But in case you are wondering why we have not mentioned a feeding bowl, here’s the answer. Gerbils are essentially foragers – they like to look and fend for their food. To keep their natural instincts intact, experts suggest scattering food all over the cage instead of putting it all in one place. So, no food bowl for the gerbil cage.

Maintaining the gerbil cage
While this is an article on how to make a gerbil cage, basic knowledge on its maintenance is equally important. The deep bedding must be cleaned out and fresh material replaced every three to four weeks. If you observe dirt and leftover food particles in and around the cage, remove them immediately. Doing so helps prevent contamination and disease in the pet.
Gerbils need to be cleaned too. So, whenever you are taking the gerbils out for a cleaning routine, prepare a smaller temporary cage similar to the original one with a lighter material. Empty the tank completely and give it a thorough clean with a non-toxic disinfectant. Dry it thoroughly (to prevent fungal growth) and refill with newly prepared bedding, nesting and play material.
Dos and Don’ts of how to make a gerbil cage
Here are some dos and don’ts to keep in mind when making a gerbil cage:
- Do build a cage that houses as well as protects the pet.
- Do prepare to build one size larger, but not a smaller gerbil cage.
- Do build to ensure that the cage material is strong and out of the reach of other predatory pets like cats, dogs and ferrets.
- Do use rust-proof and waterproof material for making the cage.
- Do keep a smaller, lighter gerbil cage handy to facilitate cleaning and transfer of the pet.
- Do not keep saw dust or wood shavings in the cage, as it can cause serious damage to gerbil lungs and skin.
- Do secure the opening to the cage at all times using proper locks. Gerbils are intelligent enough to open flimsy locks.
- Do not choose wooden containers for building the cage as the rodents can chew them up in no time.
- Do not choose rounded tanks/containers as gerbils need corners for curling up.
Do not use anything plastic in the gerbil cage.
